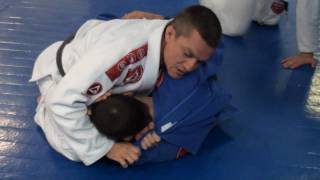
Guard Posture and Leg Pressure
Effective choke setup in the gi begins with proper guard posture rather than relying solely on ankle strength. The practitioner climbs their lower back onto the opponent's hips while pinching the ribs with the knees, then lifts and pulls the opponent forward using primarily leg pressure rather than arm strength.
Deep Collar Grip Placement
To establish deep collar control, the practitioner uses a two-step approach: first opening the gi with the hand, then using leg lift to create space before inserting the grip as deep as possible toward the name tag. Wrist positioning is critical—the grip should be tight inside the gi rather than on the outer edge where excess space allows escape.
Cross Collar Choke Mechanics
The cross collar choke is executed by gripping both sides of the collar deeply and turning the wrists while extending them rather than lifting the elbows. This wrist extension creates pressure through the sides of the wrists against the neck rather than forming a circle, which is less effective. The legs continue to pull the opponent forward throughout the technique.
Loop Choke Variation
The loop choke begins with the same initial collar grip but transitions by reaching over the opponent's head. The head must be positioned toward the side of the initial gripping arm and pushed into the practitioner's armpit to prevent the opponent from lifting their head and escaping. The second hand is placed in the crook of the first arm's elbow before extending the wrist to apply the choke.
Ice Pick Grip and Open Guard Application
The ice pick grip—holding the gi fabric with an inverted hand position—allows the practitioner to open the opponent's jacket and apply pressure with less fabric to control. This grip works effectively from butterfly guard or half guard by yanking the fabric open, collapsing the opponent to one side, and applying the choke with the elbow circling around the neck while flexing the wrist.
Guard Transitions and Multiple Attack Chains
Choke attacks from guard position create additional opportunities beyond the initial submission—if the opponent defends or the choke opens, the practitioner can immediately transition to omoplata, triangle, or other submissions. The positioning and grips established during choke attacks also serve as foundation for sweep techniques, creating a continuous cycle of offensive options.
Cross lapel chokes
Key Takeaways
- •Guard Posture and Leg Pressure
- •Deep Collar Grip Placement
- •Cross Collar Choke Mechanics
- •Loop Choke Variation
Related Techniques
Frequently Asked Questions
What does this video teach about cross lapel rear choke?
This video covers guard posture and leg pressure, deep collar grip placement, cross collar choke mechanics. It provides detailed instruction from Energia Martial Arts.
How long does it take to learn cross lapel rear choke?
The basic mechanics can be understood in a single session, but developing reliable execution requires consistent drilling over weeks of practice. This 6-part breakdown helps structure your training by isolating each phase of the technique.
What are the key details for finishing cross lapel rear choke?
The ice pick grip—holding the gi fabric with an inverted hand position—allows the practitioner to open the opponent's jacket and apply pressure with less fabric to control. This grip works effectively from butterfly guard or half guard by yanking the fabric open, collapsing the opponent to one side, and applying the choke with the elbow circling around the neck while flexing the wrist.
Related videos
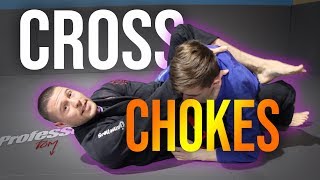
How To Make That Cross Choke Work!
The Grappling Academy
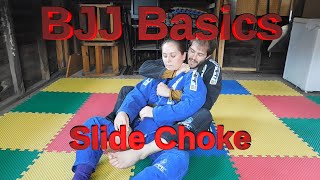
BJJ Basics: Slide Choke (Lapel Choke/Zipper Choke)
Kayfabe Jiu-Jitsu
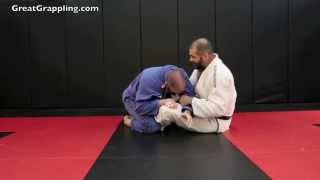
Lapel Choke from Butterfly Guard
Great Grappling
Helio Gracie Self Defense #50 Rear Two Hand Choke Defense
Grayson Greener BJJ
Draculino - Lapel Choke from Half Guard
Draculino GB Texas Jiu-Jitsu