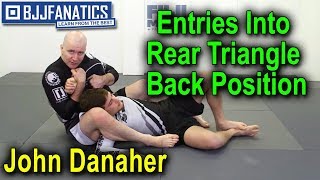
Introduction to Rear Triangle Choke
The rear triangle choke, known as ura sankaku in judo, is an effective back attack option when the standard rear naked choke is not available. This technique is particularly valuable when an opponent successfully defends the primary choking mechanism.
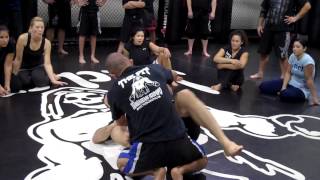
Positioning from Weak Side Back Control
The setup begins from weak side back control. The attacker steps on the opponent's hip while tapping the shoulder and creating a kickstand effect with their foot for base. The hip is scooted out to establish proper positioning before transitioning to the triangle.
Arm Trap Considerations
While trapping the opponent's arm with the foot is ideal, the triangle can be executed effectively even without this trap. The attacker must be prepared to transition when the opponent successfully prevents arm entanglement.
Primary Triangle Setup and Angle
To execute the first variation, the attacker angles their hip outward so the Achilles tendon covers the opponent's wrist, with maximum internal rotation on the shoulder. The triangle must be properly aligned across the side of the neck, not over the back of the neck and shoulder, to effectively occlude the carotid arteries.
Securing and Finishing the First Triangle
Once the correct angle is established, the attacker closes the triangle while ensuring the calf caps the arteries and the hip flexor drives the opponent's shoulder into their neck. Adding a posture break by hooking under the opponent's arm tightens the triangle further, though it is not essential for the finish.
Secondary Triangle Setup with Arm Control
If the attacker has successfully trapped the opponent's arm and created separation, they can transition to a more conventional triangle alignment by stepping the leg across and extracting the other leg. This variation provides additional control options against an opponent on their side.
Finishing with Posture Control
The attacker maintains an elevated elbow position while keeping the posture break secure to prevent the opponent from turning into the triangle. The finish is completed by ensuring the Achilles tendon cuts the carotid artery while the hip rotates the opponent's shoulder into their neck.
Two Effective Triangle Directions
Two main triangle variations exist from weak side back control: throwing the right leg over to triangle one direction, or the left leg over to triangle the opposite direction. Both variations are equally effective and should be practiced for complete back control.
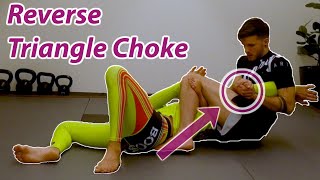
How to do the Rear Triangle Choke (or 'Ura Sankaku')
Key Takeaways
- •Introduction to Rear Triangle Choke
- •Positioning from Weak Side Back Control
- •Arm Trap Considerations
- •Primary Triangle Setup and Angle
Rob Biernacki breaks down the rear triangle choke (aka Ura Sankaku). This is from the back attacks module that will be available for free on the Grapplearts BJJ Master App - download that free at https://www.grapplearts.com/masterapp
Related Techniques
Frequently Asked Questions
What does this video teach about triangle from back?
This video covers introduction to rear triangle choke, positioning from weak side back control, arm trap considerations. It provides detailed instruction from Stephan Kesting.
How long does it take to learn triangle from back?
The basic mechanics can be understood in a single session, but developing reliable execution requires consistent drilling over weeks of practice. This 8-part breakdown helps structure your training by isolating each phase of the technique.
What are the key details for finishing triangle from back?
The attacker maintains an elevated elbow position while keeping the posture break secure to prevent the opponent from turning into the triangle. The finish is completed by ensuring the Achilles tendon cuts the carotid artery while the hip rotates the opponent's shoulder into their neck.