Introduction & Setup
Instructor Joey demonstrates a mount transition technique from side control position. The practitioner begins with Ryan lying supine while Joey establishes side mount with his arm underneath the opponent's head.
Understanding the Dead Zone
When the opponent elevates his leg to block the mount transition, both grappler and opponent enter a neutral stalemate lasting 2-15 seconds. This position, known as the 'dead zone,' requires tactical movement from the top position to gain advantage.
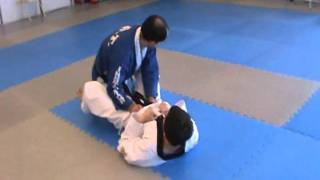
Recognizing the Defensive Movement
The key trigger for this technique occurs when the opponent begins to 'snake' by bringing his arms inside toward his body. This defensive movement creates the optimal moment for the top grappler to execute the transition.
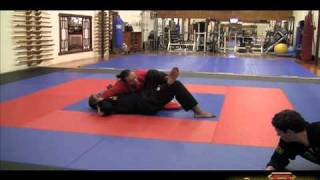
Hip Switch & Leg Placement
The instructor shifts his hips while simultaneously elevating the crossing leg with substantial weight distribution. The crossing leg must be extremely heavy as it passes over the opponent's arm to establish mount position.
Critical Detail: Arm Positioning
Success depends on ensuring the opponent's arms remain inside his torso before executing the technique. If the opponent's arms are extended outward, the instructor must wait for the defensive snake movement before proceeding with the hip switch.
Handling Defensive Blocks
If the opponent successfully blocks with his inner arm during the pass, the instructor immediately reverses the hip switch and returns to side control. This creates a continuous cycle of pressure until the mount position is achieved.
Follow-Up: Triangle Choke Option
Upon establishing mount position, the instructor transitions into triangle setup by shooting the leg backward. If the opponent hooks the leg during this movement, it naturally facilitates a triangle choke by securing head position.
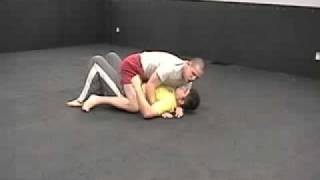
Full-Speed Execution
The complete sequence demonstrates the technique against active defense at competition speed. From side control through successful mount achievement, the technique effectively neutralizes the opponent's escape attempts and establishes dominant positioning.
Brazilian Jiujitsu technique: Mount transition
Key Takeaways
- •Introduction & Setup
- •Understanding the Dead Zone
- •Recognizing the Defensive Movement
- •Hip Switch & Leg Placement
Fightculture.net presents: Excellent way to catch your opponent off guard and take the mount position...
Related Techniques
Frequently Asked Questions
What does this video teach about tkd mount transition?
This video covers introduction & setup, understanding the dead zone, recognizing the defensive movement. It provides detailed instruction from fightculturevision.
How long does it take to learn tkd mount transition?
The basic mechanics can be understood in a single session, but developing reliable execution requires consistent drilling over weeks of practice. This 8-part breakdown helps structure your training by isolating each phase of the technique.
What are the key details for finishing tkd mount transition?
Upon establishing mount position, the instructor transitions into triangle setup by shooting the leg backward. If the opponent hooks the leg during this movement, it naturally facilitates a triangle choke by securing head position.
Related videos
Taekwondo Reversing Mount & Passing Guard
Maximum Martial Arts University
Cyberdojang.com: Positioning - Transitioning to Side Mounts
Hwa Rang Do
Grappling Drill F: Basic Grappling Positions.
Korean Academy of Taekwondo
JKD Ground Fighting Techniques
EliteDefenseSystems
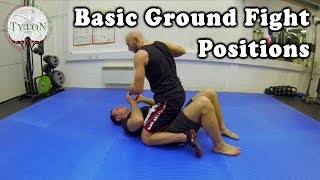
Basic Ground Fight Positions - Grappling & Ground Fight
STRONGER Than Life!