Foundational Principle: Constant Escape Mentality
When trapped in bottom side control, the practitioner must maintain an aggressive mindset focused on creating space and forcing the opponent into uncomfortable positions. Rather than accepting a passive role, the athlete should continuously push pace and look for opportunities to stand up or transition.
Initial Setup: Creating Space with Leg Position
The escape begins by placing the heel firmly on the mat while extending the arm to generate initial separation. The key is to avoid sliding the knees too far inward, as this creates unintended vulnerabilities and limits the effectiveness of subsequent movements.
Critical Detail: Punching Up Over the Waist
As the practitioner extends upward, they must punch their arm high rather than reaching for the waist. Controlling at waist level allows the opponent to maintain upper body dominance and prevents the head from achieving the height needed to win the scramble and complete the escape.
Grip Transition: From Shin to Knee Control
Once space is created, the practitioner grabs the opponent's shin, lifts slightly, and transitions to controlling the knee long (just above the knee). The head must stay elevated during this transition to maintain positional advantage and prepare for the single-leg takedown.
The Tabletop Position and Hand Switching
From the elevated position, the practitioner posts on the mat and executes a lateral slide while switching grip on the knee. This creates the tabletop position, where the practitioner can post their body weight and prepare to drive behind the opponent's legs.
Preventing the Whizzer: Positioning Below the Hips
To prevent the opponent from using a whizzer defense, the practitioner reaches their far-side arm below the opponent's buttocks rather than at hip level. This positioning ensures the opponent cannot circle their arm over the practitioner's head and escape the single-leg control.
Finishing Sequence: Climbing and Control
Once the single leg is secured with proper positioning, the practitioner drives forward and climbs the opponent's body to establish dominant position. This climbing motion generates forward momentum necessary to complete the takedown or transition to submissions and positional control.
Application Context: Generating Momentum When Fatigued
This technique is particularly valuable late in a round or when the practitioner lacks the strength to simply push the opponent away. By creating initial space with the heel push and building momentum through sequential hand switches and body position, the practitioner can execute the escape even when physically exhausted.
Use your UNDERHOOK to ESCAPE bottom SIDE CONTROL - Professor Steven Williams
Key Takeaways
- •Foundational Principle: Constant Escape Mentality
- •Initial Setup: Creating Space with Leg Position
- •Critical Detail: Punching Up Over the Waist
- •Grip Transition: From Shin to Knee Control
Using your underhook to escape is a great way to generate leverage. Body positioning and timing play a key roll in this particular side control escape. Use your UNDERHOOK to ESCAPE bottom SIDE CONTROL - Professor Steven Williams If you live in the areas around Westchester NY come train with us at The Viking Academy! We're located at 115 S Macquesten Pkwy, Mt Vernon, NY 10550 Make sure to SUBSCRIBE and turn on the POST NOTIFICATION BELL to keep to date with all of our uploads. Subscribe: https://www.youtube.com/channel/UCd8S... Social Media: Website: https://www.thevikingacademy.com/ Email: [email protected] instagram: https://www.instagram.com/thevikingac... https://www.instagram.com/thevikingac... Facebook: https://www.facebook.com/thevikingaca... Twitter: https://twitter.com/vikingacademyny Hope you enjoy the video! #wrestling #mma #bjj
Related Techniques
Frequently Asked Questions
What does this video teach about underhook to single leg?
This video covers foundational principle: constant escape mentality, initial setup: creating space with leg position, critical detail: punching up over the waist. It provides detailed instruction from Steven Strangles People.
How long does it take to learn underhook to single leg?
The basic mechanics can be understood in a single session, but developing reliable execution requires consistent drilling over weeks of practice. This 8-part breakdown helps structure your training by isolating each phase of the technique.
What are the key details for finishing underhook to single leg?
Once the single leg is secured with proper positioning, the practitioner drives forward and climbs the opponent's body to establish dominant position. This climbing motion generates forward momentum necessary to complete the takedown or transition to submissions and positional control.
Related videos
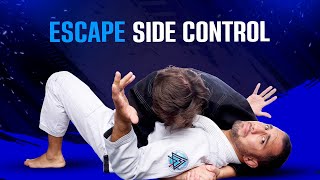
The Easiest Way to Escape Side Control (Even Against Bigger Opponents!)
Matt Arroyo Jiu Jitsu
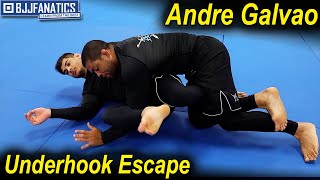
Underhook Escape by Andre Galvao
BJJ Fanatics
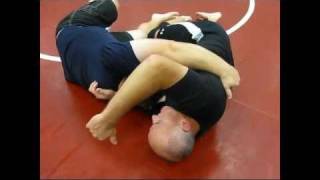
Modesto Grappling Club Instructional #3: Side-Control/Underhook Escape
Modesto Judo Club
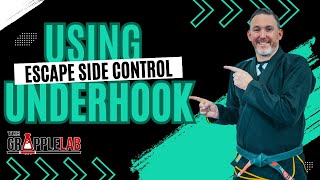
Using the UNDERHOOK to Escape Side Control
The Grapple Lab
Fundamentals: Underhook escape from side control
Bellingham BJJ