Initial Hand Placement
The instructor establishes the foundational position by placing the first hand under the opponent's armpit. This initial placement creates the necessary opening to proceed with the escape sequence. Proper hand positioning at this stage is critical for generating leverage in subsequent steps.
Creating Space with the Underhook
By popping the opponent's arm open with the underhook hand, the instructor creates sufficient space to drive the second hand deep under the opponent's back. This action is the mechanical foundation of the escape, allowing the practitioner to establish a secure underhook position.
The Three-Point Escape Movement
The escape utilizes three simultaneous actions: pushing on the opponent's hip, lifting upward, and arching the spine. These coordinated movements combine to dislodge the opponent from side control and transition the practitioner back to guard position.
Hand Locking and Pressure Application
Once both hands are locked in position, the instructor applies upward pressure through the underhook, often referred to as the 'jaws of life' technique. This pressure creates immediate space between the bodies and destabilizes the opponent's control.
Underhook Depth and Hip Control
The underhook must be driven as high as possible on the opponent's torso to maximize mechanical advantage. Simultaneously, the practitioner secures the opponent's hip with the free hand to prevent hip movement and control the escape trajectory.
Executing the Bridge and Arch
With hands locked and hip controlled, the practitioner explosively bridges and arches the spine to complete the escape. This generates sufficient momentum to either return to guard or transition to attacking positions such as a single-leg takedown.
Arm Threading Technique
When threading the underhook arm through, the practitioner should lead with the fingers rather than forcing the elbow through first. This hand positioning allows smooth penetration despite opponent resistance and prevents the arm from being pinned.
Maintaining Pressure and Preventing Re-control
As the escape completes and the practitioner comes to their feet, maintaining high underhook position is essential to prevent the opponent from re-establishing control. From this position, the practitioner can seamlessly transition to offensive techniques like single-leg attacks or turtle position.
Modesto Grappling Club Instructional #3: Side-Control/Underhook Escape
Key Takeaways
- •Initial Hand Placement
- •Creating Space with the Underhook
- •The Three-Point Escape Movement
- •Hand Locking and Pressure Application
Wrestling, Grappling, Jiu-Jitsu, Sambo, Judo and Greco-Roman http://www.modestograpplingclub.com
Related Techniques
Frequently Asked Questions
What does this video teach about standard underhook escape?
This video covers initial hand placement, creating space with the underhook, the three-point escape movement. It provides detailed instruction from Modesto Judo Club.
How long does it take to learn standard underhook escape?
The basic mechanics can be understood in a single session, but developing reliable execution requires consistent drilling over weeks of practice. This 8-part breakdown helps structure your training by isolating each phase of the technique.
What are the key details for finishing standard underhook escape?
When threading the underhook arm through, the practitioner should lead with the fingers rather than forcing the elbow through first. This hand positioning allows smooth penetration despite opponent resistance and prevents the arm from being pinned.
Related videos
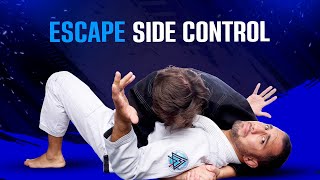
The Easiest Way to Escape Side Control (Even Against Bigger Opponents!)
Matt Arroyo Jiu Jitsu
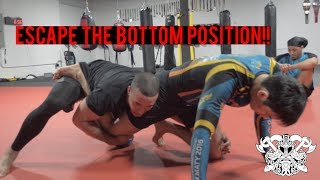
Use your UNDERHOOK to ESCAPE bottom SIDE CONTROL - Professor Steven Williams
Steven Strangles People
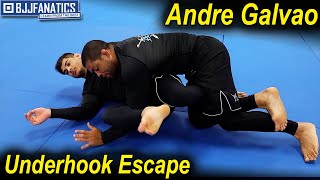
Underhook Escape by Andre Galvao
BJJ Fanatics

Using the UNDERHOOK to Escape Side Control
The Grapple Lab
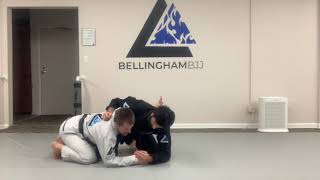
Fundamentals: Underhook escape from side control
Bellingham BJJ