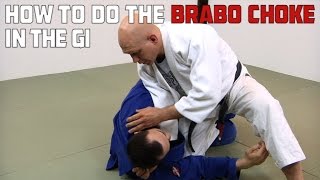
Setup from Front Control
The technique begins from front control position, with the top player's right arm underneath the opponent's armpit while gripping the belt. The left arm is positioned over the opponent's shoulder, also controlling the belt. This establishes a stable base for the transition.
Knee Placement and Reverse Switch
The instructor brings the right knee to the left side of the opponent's head, then extends the left foot outward and switches base through to achieve a reverse cross-side position. This repositioning creates leverage for the subsequent arm manipulation.
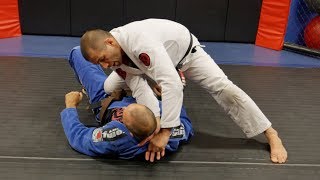
Cutting Arm Underneath
From the new position, the left arm is driven upward, cutting hard underneath the opponent's arm. The grip is maintained high on the opponent's arm to prevent escape and increase pressure on the shoulder and arm structure.
Base Switch and Crowding
The player switches their base by bringing the left foot up and back, which crowds the opponent's arm and prevents it from being pulled free. This creates continuous pressure down through the arm and shoulder.
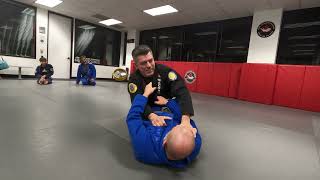
Transitioning to Knees and Hand Position
The instructor rises up onto their knees and transfers the right hand around and under the opponent's head. The right hand is placed inside near the opponent's neck, creating a stuck position that compromises the neck.
Leg Placement and Gi Pass
The left leg is turned inward and positioned to the side. The gi is passed from the left hand to the right, with the left hand then hooking back on the opponent's arm and grabbing the player's own lapel.
Final Choke Mechanism
The right knee is brought up into the opponent's neck as the player pulls back onto their left calf. The choke is completed by pulling in the direction of the opponent's arm while maintaining the pressure from the shin across the neck.
Alternative Lapel Control
An alternative finish is demonstrated where the player can grab their own lapel high on the neck if the opponent's lapel is unavailable. This provides the same choking mechanism with adjusted grip positioning.
Academy of Combat: BJJ Shin Choke
Key Takeaways
- •Setup from Front Control
- •Knee Placement and Reverse Switch
- •Cutting Arm Underneath
- •Base Switch and Crowding
Setting up a shin lapel choke while moving from front control to side control. Demonstrated by BJJ black belt Dr Geoff Aitken.Ph.D. Check out our BJJ page here http://www.academyofcombat.co.nz/classesprograms/christchurch-bjj.html
Related Techniques
Frequently Asked Questions
What does this video teach about shin over neck choke?
This video covers setup from front control, knee placement and reverse switch, cutting arm underneath. It provides detailed instruction from Academy of Combat.
How long does it take to learn shin over neck choke?
The basic mechanics can be understood in a single session, but developing reliable execution requires consistent drilling over weeks of practice. This 8-part breakdown helps structure your training by isolating each phase of the technique.
What are the key details for finishing shin over neck choke?
The right knee is brought up into the opponent's neck as the player pulls back onto their left calf. The choke is completed by pulling in the direction of the opponent's arm while maintaining the pressure from the shin across the neck.