Foundation and Hand Placement
The practitioner establishes a solid base by maintaining firm contact with both feet on the mat. Hand placement is critical—the defender keeps both hands on the opponent's hips rather than the face or arms, as this prevents the top player from securing an arm lock. Control of the hips directly controls body movement and positioning.
The Bridge and Hook Escape
From the bottom position, the defender explosively bridges while simultaneously hooking the opponent's knee with a tight scoop motion. The scooping hand maintains an upward palm orientation and cups as tightly as possible to trap the leg. The defender's hand remains elevated rather than returning to the mat, preventing entrapment in a worse position.
High Control and Shoulder Positioning
After securing the leg hook, the defender grabs a high control point across the opponent's body—ideally the far-side neck or shoulder. The defender pulls this high point while maintaining a low, tight position against the shoulder rather than extending the control point upward, which would expose them to a triangle choke. This configuration provides both control and protection.
Flat Positioning and Hip Control
Once the opponent is flattened and controlled, the defender's hand returns to the hip to prevent the opponent from extending their hips upward and escaping. This hip contact ensures the defender can efficiently pop the trapped leg upward while maintaining positional control. The shin is positioned directly into the opponent's hip, creating immediate discomfort that diverts their attention.
Transition to Straight Knee Lock
Rather than completing a guard pass, the defender rotates around the trapped leg as though it were a pole, swinging to face the opposite direction. The foot remains flexed against the opponent's hip to block thigh extension and tighten the lock. The defender maintains a side-lying position rather than flat on their back to maximize arch leverage.
Lock Finishing Position and Mechanics
The defender completes the straight knee lock by curling inward while remaining on their side, which intensifies pressure and maintains control of the lower extremities. The shin blocks the opponent's thigh while pulling the lower leg upward, creating the characteristic leg lock pressure. The defender uses hooking motions with the arms rather than hand grips, distributing force through body weight and arch rather than arm strength alone.
Detailed Demonstration and Repetition
The instructor performs the complete sequence once more: reaching up to secure the initial grip, catching the leg hook, positioning low on the hip, popping the shin into position, and sliding through to the knee lock. Each micro-movement is executed with precision to demonstrate how the technique functions as an integrated sequence. The tight positioning and body mechanics that prevent escape and maximize pressure are emphasized throughout the repetition.
Mount Escape to Straight Knee Lock
Key Takeaways
- •Foundation and Hand Placement
- •The Bridge and Hook Escape
- •High Control and Shoulder Positioning
- •Flat Positioning and Hip Control
Here is an effective escape from the Mount or Vertical Hold and counter with a straight knee lock. Demonstrated by Derrick Darling and Aric Weaver with coaching by Steve Scott.
Frequently Asked Questions
What does this video teach about standard bridge and roll kesa?
This video covers foundation and hand placement, the bridge and hook escape, high control and shoulder positioning. It provides detailed instruction from welcomematstevescott.
How long does it take to learn standard bridge and roll kesa?
The basic mechanics can be understood in a single session, but developing reliable execution requires consistent drilling over weeks of practice. This 7-part breakdown helps structure your training by isolating each phase of the technique.
What are the key details for finishing standard bridge and roll kesa?
The defender completes the straight knee lock by curling inward while remaining on their side, which intensifies pressure and maintains control of the lower extremities. The shin blocks the opponent's thigh while pulling the lower leg upward, creating the characteristic leg lock pressure. The defender uses hooking motions with the arms rather than hand grips, distributing force through body weight and arch rather than arm strength alone.
Related videos
Third Law BJJ Naples, Florida Bridge and Shrimp techniques
Team Third Law Academy #2
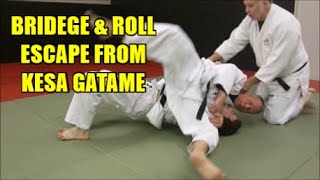
BRIDGE & ROLL PIN ESCAPE FROM KESA GATAME
JBBA Judo Education Channel
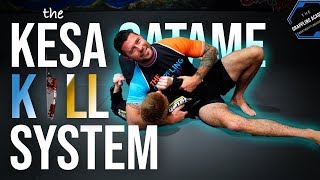
The Kesa Gatame Kill System
The Grappling Academy
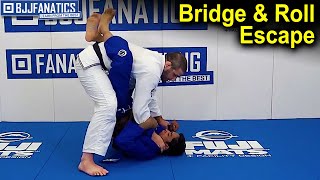
Bridge and Roll Escape by Travis Stevens
BJJ Fanatics

Why Your Bridge and Roll Doesn't Work in BJJ • BJJ with Matt Thornton
SBG PDX & Vancouver BJJ and MMA Videos