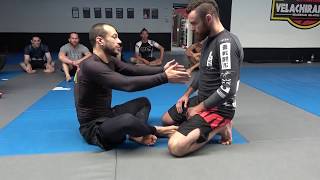
Foundational Posture and Elbow Positioning
The bridge and roll escape begins with proper defensive posture. The defender must maintain elbows down and close to the body; if the attacker gains space underneath the elbows, the subsequent techniques will be ineffective.
Tailbone Tuck and Hip Connection
Before lifting the hips, the defender should tuck the tailbone to engage the core muscles, which protects the lower back and prevents injury. This preliminary movement also establishes a stronger connection between the defender's hips and the opponent.
Head Movement to Prevent Chokes
As the opponent attempts to control the neck with a hand on the gi, the defender should move the head away from the threat while keeping elbows pointed downward toward the opponent. This positioning prevents the opponent from climbing higher while defending against choking attacks.
Foot Trap and Angle Acquisition
The defender traps the opponent's foot, which forces the opponent to defend using hip movement rather than upper body strength. Proper angle placement is critical; if the opponent can defend without committing the hips, the angle is incorrect.
Knee Roll and Side Crunch
The defender rolls the trapped knee downward while performing a side crunch, bringing the elbow toward the hip. This positioning causes the defender's hip to rest on the opponent's calf, trapping the leg and preventing escape to side mount.
Critical Angle Requirement
The successful bridge and roll requires a 'skinny X' angle positioned at approximately 12 o'clock relative to the opponent. When this angle is correct, the opponent cannot remain on top without breaking a critical connection.
Common Errors and Roll Mechanics
Most practitioners fail by rolling explosively to the side, which shifts the angle away from the optimal 12 o'clock position. By shortening the side through the knee roll and allowing the knee to fall outward, the defender prevents this angle deviation and ensures the escape succeeds.
Why Your Bridge and Roll Doesn't Work in BJJ • BJJ with Matt Thornton
Key Takeaways
- •Foundational Posture and Elbow Positioning
- •Tailbone Tuck and Hip Connection
- •Head Movement to Prevent Chokes
- •Foot Trap and Angle Acquisition
Many give up on the bridge and roll technique also known as Upa in BJJ thinking that the technique is flawed. The truth is that many are just missing certain details. In this episode of BJJ with Matt Thornton you will learn the main details to look at in order for the bridge and roll technique to work. For more SBG International BJJ and MMA instructional videos check: www.sbguniversity.com Also, check the BJJ Q&A with founder of SBG Matt Thornton here: https://youtu.be/pghir7WyisY #bjj #brazilianjiujitsu #SBG
Related Techniques
Frequently Asked Questions
What does this video teach about bridge and roll kesa?
This video covers foundational posture and elbow positioning, tailbone tuck and hip connection, head movement to prevent chokes. It provides detailed instruction from SBG PDX & Vancouver BJJ and MMA Videos.
How long does it take to learn bridge and roll kesa?
The basic mechanics can be understood in a single session, but developing reliable execution requires consistent drilling over weeks of practice. This 7-part breakdown helps structure your training by isolating each phase of the technique.
What are the key details for finishing bridge and roll kesa?
The successful bridge and roll requires a 'skinny X' angle positioned at approximately 12 o'clock relative to the opponent. When this angle is correct, the opponent cannot remain on top without breaking a critical connection.
Related videos
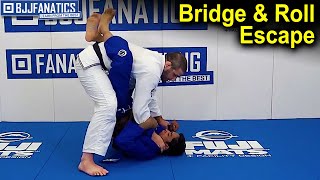
Bridge and Roll Escape by Travis Stevens
BJJ Fanatics
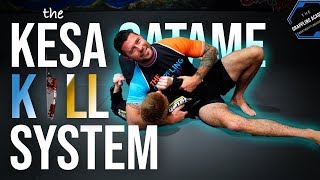
The Kesa Gatame Kill System
The Grappling Academy
Mount Escape to Straight Knee Lock
welcomematstevescott
Third Law BJJ Naples, Florida Bridge and Shrimp techniques
Team Third Law Academy #2
Fundamentals of the butterfly sweep (Lachlan Giles)
Absolute MMA St Kilda - Melbourne