Single Collar Tie to High Crotch Setup
From a collar tie position, the same-side hand grabs the opponent's tricep while the opposite hand controls the wrist. The wrestler steps forward while pushing off the tricep and penetrating with the elbow to transition into a high crotch shot. This entry generates significant driving power and allows for deep penetration necessary to finish the takedown.
Elbow Clearance and Finishing Options
Once the elbow achieves sufficient depth, the wrestler can lift the opponent or execute a corner cut to complete the shot. The key is maintaining upward elbow position rather than allowing it to drop, which compromises leverage and power delivery through the finish.
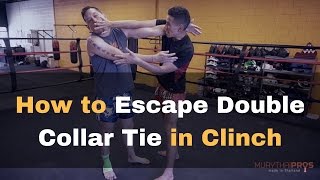
Head Position and Snap Vulnerability
A common mistake is dropping the head while clearing the opponent's arm, which creates a snap vulnerability. The wrestler should maintain an upright head position and neutral gaze throughout the movement, keeping the back straight and allowing the front leg to penetrate while the back leg drives.
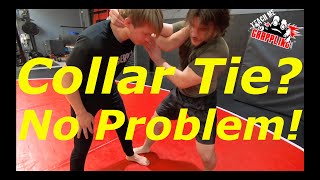
Collar Tie Snap Mechanics
From a collar tie, snaps can be executed with either standard hand placement or a tightened grip depending on position. The snap targets the back of the head near the hairline rather than the neck muscles, as this area is mechanically easier to disrupt and control.
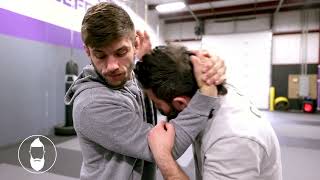
Over-tie Setup and Snap Execution
The over-tie grip positions both hands cupped at the back of the head's crease. A light practice snap with an extended over-tie demonstrates the mechanical advantage of this grip, making it an effective setup for subsequent offensive attacks.
Stance Motion Integration with Snap
Effective wrestlers integrate snap with immediate stance motion rather than executing them sequentially. As the snap initiates the opponent's downward reaction, the wrestler simultaneously steps and shoots, reaching the corner before the opponent completes their defensive reaction.
Anticipation Over Pure Speed
Wrestling effectiveness derives from anticipating opponent movements and reacting in advance rather than raw quickness. By recognizing that a snap naturally drives the opponent downward, the experienced wrestler is already positioned at the corner before the opponent can mount a defense, creating a timing advantage.
5 Collar Tie Shots That Work at Every Level (D1 wrestler explains)
Key Takeaways
- •Single Collar Tie to High Crotch Setup
- •Elbow Clearance and Finishing Options
- •Head Position and Snap Vulnerability
- •Collar Tie Snap Mechanics
Most wrestlers hang out in this position without a plan — but today I’m showing you a quick setup that turns the tie-up into easy points. Whether you’re a beginner or trying to level up your offense, this move will make a difference. 📍 Subscribe for more wrestling tips, drills, and match-winning techniques. #WrestlingTips #CollarTie #Takedowns #WrestlingDrills #ScarfaceDior
Related Techniques
Frequently Asked Questions
What does this video teach about single collar tie?
This video covers single collar tie to high crotch setup, elbow clearance and finishing options, head position and snap vulnerability. It provides detailed instruction from Christian Tanefeu.
How long does it take to learn single collar tie?
The basic mechanics can be understood in a single session, but developing reliable execution requires consistent drilling over weeks of practice. This 7-part breakdown helps structure your training by isolating each phase of the technique.
What are the key details for finishing single collar tie?
Effective wrestlers integrate snap with immediate stance motion rather than executing them sequentially. As the snap initiates the opponent's downward reaction, the wrestler simultaneously steps and shoots, reaching the corner before the opponent completes their defensive reaction.