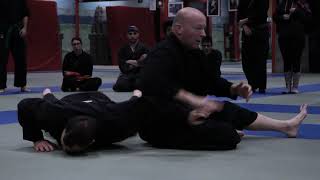
Basic Setup and Arm Control
Hiza-Gatame begins with the instructor's foot positioned on the opponent's hip while controlling the arm to prevent escape. The controlling hand pulls the opponent's arm while the legs apply simultaneous squeezing pressure, creating a dual-control system that neutralizes defensive movements.
Preventing Common Escape Routes
The opponent's primary escape attempt involves pushing the hand inward rather than pulling outward. Proper positioning prevents this inward movement while the arm control maintains pressure throughout the technique's execution.
Foot Positioning: Critical Placement
The foot must be positioned on the thigh rather than the lower knee to prevent the opponent from stepping over it and reversing the position. Placement too low on the knee allows the opponent to lift their knee and escape the hold entirely.
Continuous Pressure and Recovery
As the opponent attempts to escape by lifting their knee, the instructor immediately reapplies pressure downward. If the hold is lost, the instructor recovers by re-establishing the leg control and repeating the squeezing mechanism.
Hip Control and Hand Positioning
The instructor's foot placement on the hip combined with hand pressure just above the opponent's elbow creates leverage that prevents movement. When executed correctly, any pulling movement by the opponent intensifies the pressure and hastens submission.
Alternative Entry Positions
Hiza-Gatame can be applied from various positions beyond the formal kata sequence, including from double-knee positions or during transitions. The fundamental control mechanics remain consistent regardless of the entry method used.
Pressure Angle and Leverage Optimization
The finishing pressure should be applied at approximately a 45-degree angle to maximize leverage and prevent the opponent from countering with positional shifts. Angles too far in either direction compromise the technique's mechanical advantage.
Defensive Counters and Escape Methods
The opponent can defend by crowding the space as the technique is applied or by using the trapped arm to push the instructor's foot down while moving across it. Immediate recognition of these defense attempts allows the opponent to sit out and create additional defensive options.
Hiza Gatame
Key Takeaways
- •Basic Setup and Arm Control
- •Preventing Common Escape Routes
- •Foot Positioning: Critical Placement
- •Continuous Pressure and Recovery
Hiza Gatame (Arm Bar) Newaza Technique as demonstrated by Sensai Bob @ The Tohkon Judo Academy of Chicago.
Related Techniques
Frequently Asked Questions
What does this video teach about hiza-gatame?
This video covers basic setup and arm control, preventing common escape routes, foot positioning: critical placement. It provides detailed instruction from WINNING.
How long does it take to learn hiza-gatame?
The basic mechanics can be understood in a single session, but developing reliable execution requires consistent drilling over weeks of practice. This 8-part breakdown helps structure your training by isolating each phase of the technique.
What are the key details for finishing hiza-gatame?
The finishing pressure should be applied at approximately a 45-degree angle to maximize leverage and prevent the opponent from countering with positional shifts. Angles too far in either direction compromise the technique's mechanical advantage.
Related videos
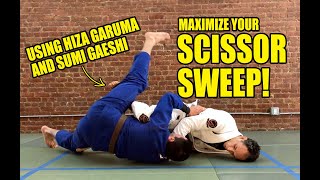
Maximize Your Scissor Sweep: Hiza Garuma and Sumi Gaeshi to the Rescue (BJJ/Jiu-Jitsu)
Brian Glick
Modified Hiza Gatame to Reverse Juji Gatame from Guard
Rob Jackson
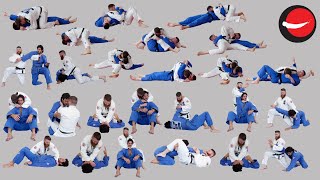
Katame Waza || Grappling Techniques - 32 Holds, Strangles/Chokes and Armlocks
The Judo Way of Life
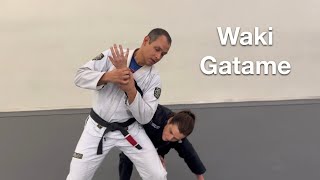
Waki Gatame - when and how to use it.
Robert Silas (Aiki_and_Jiu)
Waki Gatame into Ura Oni Kudaki - Yossi Sheriff in Madrid
AKBAN Ninjutsu – Yossi Sheriff