Initial Head Position and Gap Creation
The foundation of this technique begins with pulling the opponent's head to the side to create a significant gap. This lateral pull generates the necessary space to establish an underhook from a secure hand position.
Securing the Gable Grip and Chest Contact
Once the underhook is established, the instructor secures a gable grip (C-lock) and drives the opponent's face into the chest. This compression creates control while the shoulder is positioned underneath the opponent's elbow or shoulder.
Foot Positioning and Entry Setup
The instructor matches the opponent's feet by pulling them into close quarters and positioning the right foot next to the opponent's right foot. This alignment is achieved by driving the opponent forward into the clinch while maintaining tight control.
The Foot Switch and Momentum Transfer
The clinch is completed by switching the feet while pulling the opponent to the chest. This simultaneous action creates forward momentum that places the opponent onto their blade and initiates the takedown sequence.
Defense Against Roll-Through Escapes
By descending to the knee first rather than stepping in front, the instructor eliminates the opponent's ability to generate the momentum needed for a roll-through escape. This defensive positioning also forces the opponent to land perpendicular rather than parallel, making reversal impossible.
Stepping Through the Legs for Positional Control
Rather than applying force through body weight alone, the instructor steps one foot through the opponent's legs to neutralize their power completely. This subtle adjustment shifts the opponent's landing angle to a T-shaped position, eliminating conventional escape routes.
Finishing with Rib Compression
From the pinched headlock position, the instructor completes the technique by sagging the ribcage down approximately eight inches before elevating with the head down. This sag-and-lift sequence tightens the control and transitions into side control.
Front Headlock Conversion and Exit Control
If the opponent attempts to escape by backing their hips out, the instructor converts the clinch into a front headlock by snatching downward. This adjustment maintains continuous control and prevents the opponent from disengaging while providing access to front headlock offense.
A Complete Throwing System | From a Greco-Roman Wrestling National Champion
Key Takeaways
- •Initial Head Position and Gap Creation
- •Securing the Gable Grip and Chest Contact
- •Foot Positioning and Entry Setup
- •The Foot Switch and Momentum Transfer
🏆 We Transform Jiu Jitsu Practitioners Into Takedown Pros↴ Start your transformation today with our zero-cost, takedown mini-course: https://www.wrestling.university/FREECOURSE
Related Techniques
Frequently Asked Questions
What does this video teach about head clinch to takedown?
This video covers initial head position and gap creation, securing the gable grip and chest contact, foot positioning and entry setup. It provides detailed instruction from Wrestling University - Takedowns for Jiu Jitsu.
How long does it take to learn head clinch to takedown?
The basic mechanics can be understood in a single session, but developing reliable execution requires consistent drilling over weeks of practice. This 8-part breakdown helps structure your training by isolating each phase of the technique.
What are the key details for finishing head clinch to takedown?
From the pinched headlock position, the instructor completes the technique by sagging the ribcage down approximately eight inches before elevating with the head down. This sag-and-lift sequence tightens the control and transitions into side control.
Related videos
The Wrestling Video I Wish I Had Day One | Wrestling Fundamentals: Techniques for Beginners
Systematic Wrestling
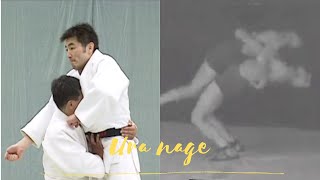
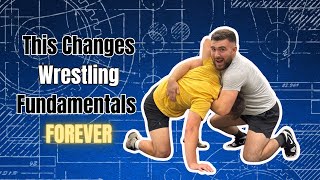
Judo's most devastating throw VS Greco-Roman wrestling's body lock takedown
Chadi
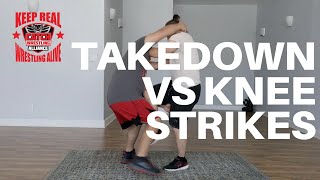
Takedown Against Knee Strikes - The Simple Technique That Takes Practice
Catch Wrestling Alliance
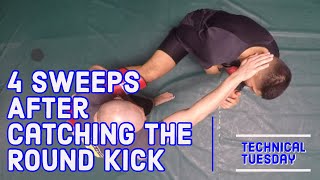
4 Ways To Sweep After Catching the Round Kick
Combat Theory
7 Simple & Effective Chain Takedowns for MMA
Jeff Chan MMAShredded