Clinch Fundamentals
The single collar clinch is initiated by pressing square and X in orthodox stance, or triangle and circle in southpaw. Fighters must be at close range for the clinch to engage. Once established, either fighter can disengage by using the left stick to move away from their opponent.
Striking from the Clinch
Uppercuts are executed with square or triangle, while hooks require holding L1 before striking. Knee strikes utilize X or circle, and body shots are delivered by holding L2 during any strike. Elbows are performed by holding L1 and pressing square and X simultaneously.
Transitioning to Tie Clinch
From the single collar clinch, throwing any knee strike with X or circle transitions the fighter into the more dominant tie clinch position. Returning to single collar clinch is accomplished by throwing a punch with square or triangle.
Establishing Over-Under Position
The over-under clinch is achieved by initiating a double leg takedown (L2 + triangle and circle in orthodox) and canceling it with R2 before completion. This position provides superior control and access to specific ground transitions.
Back Clinch Transition
To transition from over-under to back clinch, the fighter initiates another double leg attempt while moving the left stick forward toward the opponent. This technique requires precise timing and practice but provides a dominant clinch position against the cage.
Cage Clinch Positioning
From any clinch position, moving the left stick into the cage wall transitions the fighter into cage clinch. All standard clinch strikes remain available, and back clinch transitions are easier from this position by flicking the left stick vertically based on opponent positioning.
Takedowns from the Clinch
Standard single and double leg takedowns execute from most clinch positions using identical controls. Holding the takedown buttons performs power variants that slam the opponent. Different clinch positions produce varied ground starting positions, such as back side control from double legs in over-under.
Trips and Throws
Specialized trips and throws are executed by holding R1 and pressing circle or X from any clinch position. These techniques offer superior aesthetic appeal and more dominant ground starting positions compared to standard takedowns. Defense against all trips and throws follows standard takedown defense mechanics using back trigger pressure.
How To DOMINATE THE CLINCH in UFC 5 (CLINCH GUIDE) | EA SPORTS UFC 5
Key Takeaways
- •Clinch Fundamentals
- •Striking from the Clinch
- •Transitioning to Tie Clinch
- •Establishing Over-Under Position
In this video we go through the different clinch positions in EA Sports UFC 5 and how to transition between them. We also cover the various strikes and takedowns you can use in the clinch.
Related Techniques
Frequently Asked Questions
What does this video teach about guillotine from clinch?
This video covers clinch fundamentals, striking from the clinch, transitioning to tie clinch. It provides detailed instruction from IC4Games.
How long does it take to learn guillotine from clinch?
The basic mechanics can be understood in a single session, but developing reliable execution requires consistent drilling over weeks of practice. This 8-part breakdown helps structure your training by isolating each phase of the technique.
What are the key details for finishing guillotine from clinch?
Standard single and double leg takedowns execute from most clinch positions using identical controls. Holding the takedown buttons performs power variants that slam the opponent. Different clinch positions produce varied ground starting positions, such as back side control from double legs in over-under.
Related videos

Submission Reversals: Improve Your Ground Game
NazUFC
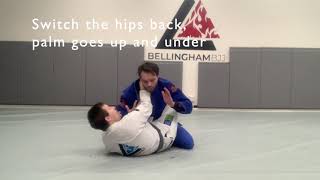
Guard: Palm Up Palm Up choke
Bellingham BJJ

BJJ - X Choke from Mount | Palm Up / Palm Down
Focused Fight Team
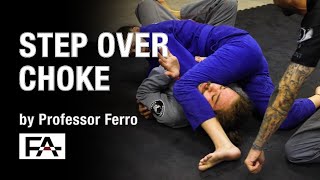
Ferro Academy BJJ Step Over Choke from knee on belly and side control.#sidechoke#bjj
Sickness Ferro
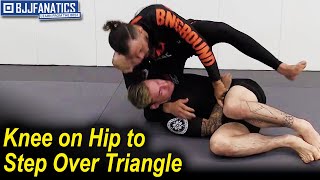
Knee on Hip to Step Over Triangle by Benji Silva
BJJ Fanatics