Securing the Arm Position
When the initial grip through the gap proves difficult, transition by passing under the opponent's elbow without capturing the hand. Drive the arm forward toward the head rather than outward, using chest pressure to control the position. Alternatively, trap just the elbow, which achieves the same effect as the opponent will eventually straighten their arm back into position.
Initial Arm Placement and Grip
From mount position, place the opponent's arm above their head and grip their tricep with the opposite hand to prevent easy removal. This tricep grip provides essential control as you prepare to transition your head to the opposite side of their arm. Maintain firm pressure on the tricep throughout this adjustment.
Achieving Proper Choke Positioning
Position your bicep across the opponent's chest rather than their face, as a high position prevents effective choking. Lower your hand and shoulder below their chin to ensure your arm can wrap the neck properly, avoiding the trap of pushing downward from the face where chin tucks render the technique ineffective. Your shoulder must sit lower than the chin line to access the neck effectively.
Extending Deep and Falling to Side Control
Pull the opponent to the side to create space for arm adjustment, then fall to the side while extending your arm as deep as possible through their shoulder. Keep both your hand and shoulder lower than the line of their head, positioning your elbow to jam directly into their neck. Connect your hands once fully extended, ensuring the elbow creates a tight seal against the neck for maximum choke efficiency.
Blocking Escape Routes
Prevent the opponent from rolling away by clasping your hands underneath their shoulder blade rather than above it, which blocks shoulder mobility. Position your head next to the opponent's head to form a tripod structure that prevents them from freeing their arm and rolling flat. This head placement is critical to stopping their ability to escape by turning away or reaching their arm above their head.
Executing the Sprawl and Final Pressure
Sprawl your hips low and backward while maintaining connection through the tripod position, then flick your foot to side control. Keep your hips sagging low during the sprawl to drive pressure into the choke rather than rising high, which would release neck pressure. Drive through your feet and upper body weight to complete the technique, using body weight as the primary choking mechanism rather than arm squeeze.
Final Finishing Details
Apply final pressure by driving your head and shoulders into the choke, using body weight to push the opponent's head and shoulders into your bicep. Maintain a low elbow position throughout—if the elbow lifts, you are relying too much on arm strength rather than leverage and body weight. Keep your body weight heavy and low from initial connection through the sprawl to maximize choke effectiveness.
Head and arm choke from mount (arm triangle) - Lachlan Giles
Key Takeaways
- •Securing the Arm Position
- •Initial Arm Placement and Grip
- •Achieving Proper Choke Positioning
- •Extending Deep and Falling to Side Control
Check out http://lachlangiles.net for more instructionals
Related Techniques
Frequently Asked Questions
What does this video teach about arm triangle choke — from mount?
This video covers securing the arm position, initial arm placement and grip, achieving proper choke positioning. It provides detailed instruction from Absolute MMA St Kilda - Melbourne.
How long does it take to learn arm triangle choke — from mount?
The basic mechanics can be understood in a single session, but developing reliable execution requires consistent drilling over weeks of practice. This 7-part breakdown helps structure your training by isolating each phase of the technique.
What are the key details for finishing arm triangle choke — from mount?
Sprawl your hips low and backward while maintaining connection through the tripod position, then flick your foot to side control. Keep your hips sagging low during the sprawl to drive pressure into the choke rather than rising high, which would release neck pressure. Drive through your feet and upper body weight to complete the technique, using body weight as the primary choking mechanism rather than arm squeeze.
Related videos
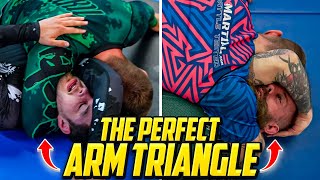
How To Do The PERFECT Arm Triangle... It's All In The Bite | BJJ Technique
Jordan Teaches Jiujitsu
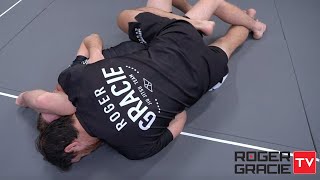
Head and Arm Choke from Mount Finishing Details
Roger Gracie TV
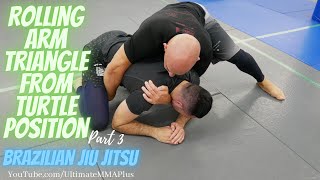
How to : Rolling Arm Triangle from Turtle Part 3
UltimateMMA Plus

Knee on Belly to Arm Triangle!
TeachMeGrappling Coach Brian
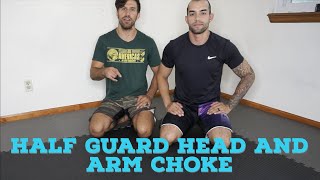
Head and arm choke from half guard || The Jiu Jitsu Journal || BJJ Techniques
Prism Jiu Jitsu