Program Overview
This instructional series presents seven integrated chain takedown sequences applicable to MMA competition. The curriculum progresses from foundational single and double-leg techniques through advanced judo throws, emphasizing tactical transitions when opponents defend.
Single-Leg Takedown Fundamentals
The practitioner executes a level change and secures the opponent's lead leg, positioning it between their own legs. Rotation direction follows the trapped leg—counterclockwise for the opponent's right leg, clockwise for the left—while the rear leg slides back and the same-side shoulder applies pressure to the opponent's thigh. Hip hinging drives the head toward the toes, completing the fundamental mechanics.
Double-Leg Takedown Mechanics
The shooter level changes while stepping forward with the lead leg, dropping the lead knee between the opponent's legs and securing both limbs. Power generation comes from sweeping the rear leg forward; the shooter then steps up with the trailing leg and drives laterally while lifting to complete the takedown. Multiple variations exist and are detailed in supplementary instructional materials.
Single-to-Double Leg Transition
When a skilled opponent hops their standing leg to maintain balance, that base naturally migrates closer to the trapped leg. The shooter capitalizes on this proximity by transitioning immediately to the double-leg attack, stepping toward the newly accessible leg and driving forward to finish.
Back Control via Sprawl Response
When the opponent sprawls to defend the initial takedown, the shooter cuts angle by pushing off the sweeping rear leg while using head pressure to drive the opponent laterally. The shooter circles clockwise, transitioning arm position from the legs to the waist, and establishes back control while the opponent remains standing.
Back Control Lift and Slam
Once back control is established with a standing opponent, the shooter secures a gable grip around the opponent's hips. A deadlift motion with bent legs elevates the opponent; in competitive settings, the opponent is slammed forcefully to the mat.
Ogoshi Hip Throw from Over-Under
When the opponent's underhook defense prevents back control, the shooter transitions to the over-under clinch position. From this configuration, the shooter positions both feet parallel to the opponent's stance, drives hips upward into the opponent's center, and rotates the upper body counterclockwise to throw the opponent over the hips.
Tai Otoshi Judo Throw
After the opponent defends the double-leg with an underhook, the shooter takes a wide step outside the opponent's far leg and traps below the knee line. The shooter rotates the upper body counterclockwise while pulling the opponent's elbow downward, using hip position to generate the throwing motion.
Uchimata Inner Thigh Throw
The shooter establishes the over-under position and creates separation by shooting hips away from the opponent. The shooter steps with the same-side leg as the underhook, then rotates and drives the opposite leg between the opponent's legs at mid-thigh. Multiple hops while pulling with the overhook arm force the opponent to rotate and fall.
Harai Goshi Sweep Throw
This throw differs from Tai Otoshi by trapping the leg above rather than below the knee line. The shooter executes this technique primarily when the opponent achieves double underhooks in the clinch; the shooter head-locks the opponent while pulling one arm and rotating toward that side before sweeping above the knee, generating superior leverage from the closer clinch position.
7 Simple & Effective Chain Takedowns for MMA
Key Takeaways
- •Program Overview
- •Single-Leg Takedown Fundamentals
- •Double-Leg Takedown Mechanics
- •Single-to-Double Leg Transition
0:00 - Start 0:35 - 1. Single Leg 1:06 - 2. Double Leg 1:37 - 3. Single Leg to Double Leg 2:25 - 4. Double Leg to Backtake 3:41 - 5. Double Leg to Ogoshi 4:43 - 6. Double Leg to Tai Otoshi 5:08 - 7. Double Leg to Uchi Mata 5:58 - 8. Double Leg to Harai Goshi 6:51 - 9. Double Leg to Sasae / Muay Thai Sweep 🏝️ Join me in my new retreats happening this year here: https://www.mmashredded.com/traintravelcamp Get access to new partnered follow along striking & grappling classes here: https://www.mmashredded.com/mmamembership FIND ME: ➥ IG: https://www.instagram.com/mmashredded/ ➥ TIKTOK: https://www.tiktok.com/@mmashredded ➥ WEB: https://www.mmashredded.com ➥ FB: https://www.facebook.com/mmashredded/ ➥ SUPPORT & JOIN THE COMMUNITY: https://www.patreon.com/mmashredded
Related Techniques
Frequently Asked Questions
What does this video teach about standard single collar tie?
This video covers program overview, single-leg takedown fundamentals, double-leg takedown mechanics. It provides detailed instruction from Jeff Chan MMAShredded .
How long does it take to learn standard single collar tie?
The basic mechanics can be understood in a single session, but developing reliable execution requires consistent drilling over weeks of practice. This 10-part breakdown helps structure your training by isolating each phase of the technique.
What are the key details for finishing standard single collar tie?
The shooter establishes the over-under position and creates separation by shooting hips away from the opponent. The shooter steps with the same-side leg as the underhook, then rotates and drives the opposite leg between the opponent's legs at mid-thigh. Multiple hops while pulling with the overhook arm force the opponent to rotate and fall.
Related videos
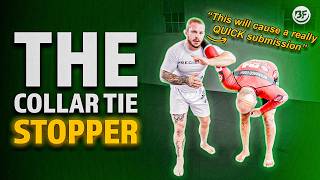
My #1 Attack When Someone Collar Ties Me (Shawn Melanson)
Bernardo Faria BJJ Fanatics
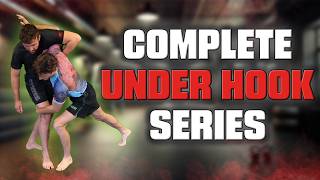
Learn to Underhook Like a Wrestler | Wrestling for BJJ
Wrestling University - Takedowns for Jiu Jitsu

BJJ Self-Defense Course | Lesson 41: Single-Collar Tie Escape
Gracie Schwarzwald Jiu-Jitsu
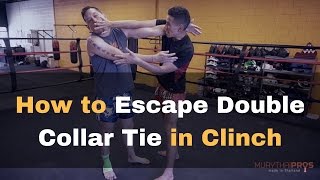
Muay Thai Clinch Escape: How to Escape Double Collar Tie
Muay Thai PROS
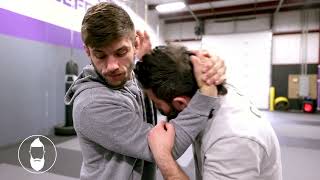
Dealing with Double Collar Ties
Aaron Jannetti