Starting Position and Grip Setup
Begin from a neutral clinch position with a 50/50 stance, chin open, and shoulders squared. The instructor establishes an underhook with his right arm on the opponent's left side. This grip serves as the foundation for controlling the opponent's movement throughout the technique.
Creating Forced Movement
Using the underhook grip, pull the opponent's leg backward to force a step forward. Time the pull to coincide with the opponent's natural weight shift. This controlled step is essential for setting up the leg lock entry.
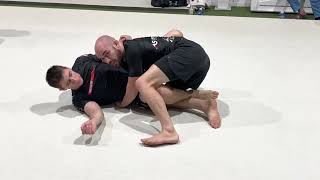
Stepping Around and Locking the Leg
As the opponent steps, immediately step around their leg while pulling it close to your body. Drive your hips tight against their leg to establish control, avoiding any extended distance that would allow escape. Lock the leg between your hips and maintain contact throughout.
Hip Position and Elevation Defense
Pinch your knees together and sink your hips low to prevent the opponent from elevating your leg. Keep your hips glued to their leg rather than extended outward. This compressed position creates a strong mechanical advantage and protects against defensive lifting.
Hand Placement and Blocking
Secure the opponent's hip with your outside hand to stop their lateral escape. Position your inside hand behind their knee, using the back of the hand to block their stepping motion. This dual-hand control makes it extremely difficult for the opponent to generate counter-movement.
Executing the Takedown
Sit back into the opponent's buttocks while dragging them backward. Maintain the hip lock and rear-hand block throughout the movement. Keep your chest upright and land on top of the opponent, controlling the fall to avoid falling backward.
Alternative Grip Variation
Instead of blocking the knee, the instructor can chop high on the tricep or double up on the hands for additional control. Extend your rear leg straight to the mat while maintaining the hip lock. Walk forward into the takedown by sitting back, forcing the opponent to follow or collapse.
Responding to Opponent Release and Knee Tap Setup
When the opponent releases their locked leg and steps backward to escape, immediately catch their far leg with your underhook hand. Keep your underhook punch high and ensure all directional forces—feet, head, hand, and underhook—point in the same direction toward the takedown.
Finishing the Knee Tap
Run past the opponent's legs rather than into them to avoid landing in their guard. Drive forward explosively with everything aligned in one direction. This approach extends your reach and prevents the opponent from elevating their leg to trap you.
Clinch Takedowns! Bodylock, Tani Otoshi And Knee Taps!
Key Takeaways
- •Starting Position and Grip Setup
- •Creating Forced Movement
- •Stepping Around and Locking the Leg
- •Hip Position and Elevation Defense
If you like what you see click Subscribe to see more!
Related Techniques
Frequently Asked Questions
What does this video teach about low front body lock?
This video covers starting position and grip setup, creating forced movement, stepping around and locking the leg. It provides detailed instruction from Mick Hall.
How long does it take to learn low front body lock?
The basic mechanics can be understood in a single session, but developing reliable execution requires consistent drilling over weeks of practice. This 9-part breakdown helps structure your training by isolating each phase of the technique.
What are the key details for finishing low front body lock?
When the opponent releases their locked leg and steps backward to escape, immediately catch their far leg with your underhook hand. Keep your underhook punch high and ensure all directional forces—feet, head, hand, and underhook—point in the same direction toward the takedown.
Related videos
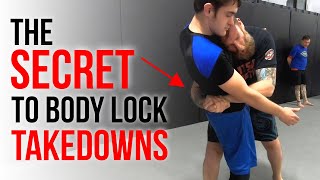
The 'Secret' To Body Lock Takedowns + 2 Submissions (Kimura + Choke)
TRITAC Martial Arts
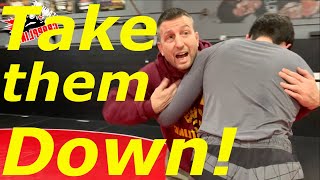
Basic CLINCH Bodylock Takedowns for EVERYONE!
TeachMeGrappling Coach Brian
A Complete Throwing System | From a Greco-Roman Wrestling National Champion
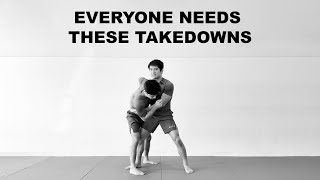
Wrestling University - Takedowns for Jiu Jitsu
THE KING OF ALL TAKEDOWNS: THE BODY LOCK TAKEDOWN FOR ALL GRAPPLING SYSTEMS.
Kata Jiu Jitsu
Advanced Body lock passing with James Woonton
Arte Suave - BJJ Brisbane