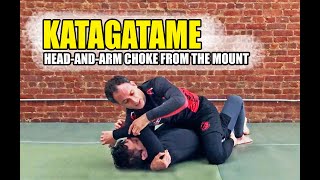
Introduction and Setup Position
The arm triangle choke from mount is an effective submission when collar chokes and arm locks are unavailable due to sweat or slippery conditions. The instructor establishes a low mount position with legs crossed underneath, creating superior control over the opponent. This foundation allows the practitioner to threaten the arm while maintaining stability against resistance and space creation.
Arm Placement Without Muscling
Rather than lifting the opponent's arm through upper body strength, the practitioner places the arm across their shoulder. By positioning the hand on the mat and creating angular pressure, the shoulder naturally guides the opponent's arm upward. This mechanical advantage prevents the opponent from resisting through strength alone.
Sliding the Arm Into Position
As pressure is applied, the opponent's arm slides smoothly onto the practitioner's shoulder regardless of elbow resistance. The key is maintaining continuous backward pressure rather than attempting to muscle the arm over the shoulder. This controlled method proves especially effective against larger or stronger opponents.
Forearm Placement and Neck Positioning
Once the arm is secured, the practitioner adjusts their forearm to sit directly behind the opponent's neck rather than pressing into the face. The forearm positioning below the chin ensures the choke targets the neck effectively. This adjustment maximizes the submission's efficiency while minimizing unnecessary discomfort.
Head Insertion and Arm Locking
The practitioner slides their head behind the opponent's arm without withdrawing the choking arm, which would allow escape. The free arm adjusts the position to create maximum tightness as the head moves toward the opponent's shoulder and armpit. The tighter the alignment with the armpit, the more effective the choke becomes.
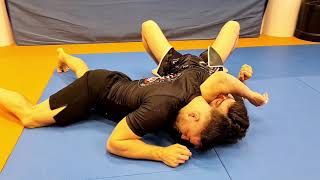
Grip Completion and Mount Exit
The practitioner secures the submission by locking their palms together with the arm positioned behind the head. Both legs are straightened simultaneously before disengaging from mount to prevent being caught in half guard. The foot hooks the opponent's leg last, ensuring a safe transition to a controlling position.
Hip Rotation for Maximum Pressure
To finish with maximum efficiency, the practitioner rotates their hips toward the opponent while positioning their knee behind their hips. This hip angle creates substantially more choking pressure than maintaining a squared position. The combined hip rotation and grip lock produces the submission's final mechanical advantage.
Head and Arm Choke from Mount Finishing Details
Key Takeaways
- •Introduction and Setup Position
- •Arm Placement Without Muscling
- •Sliding the Arm Into Position
- •Forearm Placement and Neck Positioning
🔥 FREE CONTENT 🔥 for Youtube Subscribers https://rogergracietv.com/yt/755-free-content
Frequently Asked Questions
What does this video teach about kata gatame?
This video covers introduction and setup position, arm placement without muscling, sliding the arm into position. It provides detailed instruction from Roger Gracie TV.
How long does it take to learn kata gatame?
The basic mechanics can be understood in a single session, but developing reliable execution requires consistent drilling over weeks of practice. This 7-part breakdown helps structure your training by isolating each phase of the technique.
What are the key details for finishing kata gatame?
The practitioner secures the submission by locking their palms together with the arm positioned behind the head. Both legs are straightened simultaneously before disengaging from mount to prevent being caught in half guard. The foot hooks the opponent's leg last, ensuring a safe transition to a controlling position.
Related videos
Katagatame (Head and Arm Choke) from Mount - No Gi BJJ / Jiu-Jitsu
Brian Glick
Arm Triangle Choke from Mount - ArmTriangle Kata Gatame BJJ Grappling Judo Basics for MMA
Peter Mettler Martial Arts
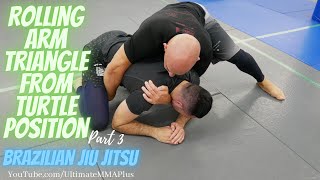
How to : Rolling Arm Triangle from Turtle Part 3
UltimateMMA Plus
Knee on Belly to Arm Triangle!
TeachMeGrappling Coach Brian
Head and arm choke from half guard || The Jiu Jitsu Journal || BJJ Techniques
Prism Jiu Jitsu