Setup and Initial Frame Creation
The instructor establishes the foundational position by creating structural control against the opponent's neck. A frame is established by threading the hand underneath the opponent's arm, which naturally elevates their arm to neck height. This frame prevents the opponent from establishing a strong clinch position.
Creating Off-Balance Through Movement
Rather than statically locking the position, the instructor uses dynamic backstepping with the right leg to continuously off-balance the opponent. By maintaining pressure on the head while moving, the instructor forces the opponent to constantly adjust, making it difficult for them to establish a counter. This mobile approach prevents the opponent from settling into a stable defensive posture.
Arm Lock Finishing Position
The instructor completes the technique by over-wrapping and matching elbow-to-elbow with precise alignment. Force is directed through the shoulder and neck toward the opposite foot, creating a powerful mechanical advantage. The lock is applied with controlled pressure rather than sudden force.
Defending Against Leg Counter Threats
When the opponent attempts to establish leg controls or counter attacks, the instructor demonstrates a simple backstep to reset distance and maintain the upper-body lock. This repositioning neutralizes leg-based defenses while preserving the arm lock structure.
Managing Elbow Escape Routes
The instructor identifies three primary escape paths the opponent may attempt: turning the elbow downward in either direction or pulling away entirely. The hand configuration and pressure placement make rotation through the shoulder nearly impossible. Any pulling action only tightens the submission rather than creating escape.
Countering Forward Roll Escapes
When opponents attempt to forward roll under pressure or rotate the shoulder to establish an underhook, the instructor transitions the frame from inside the neck to over the top. A head push is applied using a reverse C-grip while stepping around the opponent to establish control. This transition leads into side control or ground-based arm lock continuation.
Ground Application and Seatbelt Control
The same technique applies seamlessly from ground positions, particularly against a sprawling opponent. The instructor uses a seatbelt grip to maintain control of the shoulder and head, emphasizing downward pressure on the shoulder blade to maintain the mechanical advantage. This grip structure is foundational to multiple clinch positions and control systems.
Shoulder Pressure and Leverage Development
The instructor refines the grip focus to emphasize shoulder control rather than purely hand positioning. Downward biting pressure on the shoulder keeps the opponent lower than the instructor, establishing a superior lever. The head is controlled by alternating between forearm and hand pressure, directing it toward the opponent's opposite foot.
Ude Gatame [Arm Lock] Jujitsu Takedowns For Combat - TRITAC-Jitsu
Key Takeaways
- •Setup and Initial Frame Creation
- •Creating Off-Balance Through Movement
- •Arm Lock Finishing Position
- •Defending Against Leg Counter Threats
The Ude Gatame is one of the most powerful controls, submissions and breaks in all of Jiu-Jitsu. It is a Japanese Jujitsu technique / Aikijutsu technique, also seen both in Judo and Aikido that can be applied in all areas of combat including takedowns and ground fighting. Learn more about different submissions, controls and breaks in our TRITAC-Jitsu Course: https://tritacmartialarts.com/course The Ude Gatame is also applicable in all modes of combat: BJJ / Submission Grappling, MMA, Self Defense and Weapons Combat. In this TRITAC video, Matt Bryers teaches a small no gi group / class at this school the Cage JSA on Tues / Thurs where they focus on takedowns for all modes of combat. The group consists of police officers, military and dedicated students focused on all areas of combat. To learn more about TRITAC and it's methods, check out: https://tritaccombat.com
Frequently Asked Questions
What does this video teach about hara-gatame from standing?
This video covers setup and initial frame creation, creating off-balance through movement, arm lock finishing position. It provides detailed instruction from TRITAC Martial Arts.
How long does it take to learn hara-gatame from standing?
The basic mechanics can be understood in a single session, but developing reliable execution requires consistent drilling over weeks of practice. This 8-part breakdown helps structure your training by isolating each phase of the technique.
What are the key details for finishing hara-gatame from standing?
The same technique applies seamlessly from ground positions, particularly against a sprawling opponent. The instructor uses a seatbelt grip to maintain control of the shoulder and head, emphasizing downward pressure on the shoulder blade to maintain the mechanical advantage. This grip structure is foundational to multiple clinch positions and control systems.
Related videos
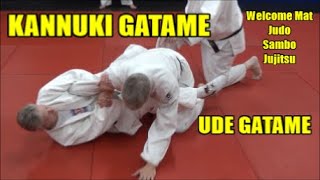
KANNUKI GATAME (UDE GATAME) Latch or Crossbar Armlock (Also Called Straight Armlock)
welcomematstevescott
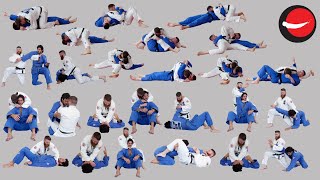
Katame Waza || Grappling Techniques - 32 Holds, Strangles/Chokes and Armlocks
The Judo Way of Life
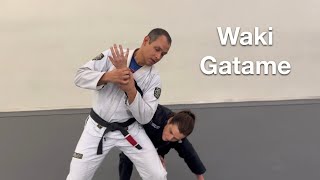
Waki Gatame - when and how to use it.
Robert Silas (Aiki_and_Jiu)
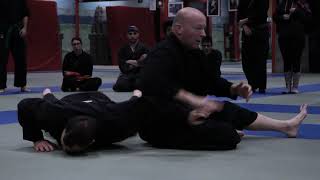
Waki Gatame into Ura Oni Kudaki - Yossi Sheriff in Madrid
AKBAN Ninjutsu – Yossi Sheriff

9 Standing Arm Locks (BREAKS) in Jiu-Jitsu #jujitsu #armlock
TRITAC Martial Arts