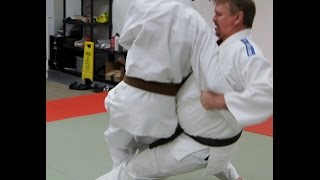
Initial Setup and Sacrifice Mechanics
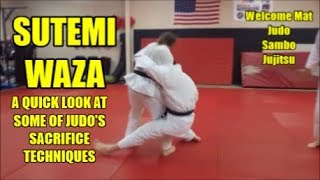
The instructor demonstrates an inside position from which the sacrifice throw is initiated. The technique involves throwing the opponent while simultaneously sacrificing the instructor's own position to gain advantage.
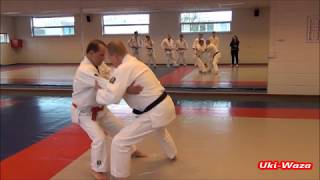
Leg Positioning for Plus-Sized Athletes
The instructor emphasizes how larger athletes execute the sacrifice differently, focusing on leg placement and body mechanics specific to bigger body types. Proper leg positioning is critical for generating throwing power while maintaining control.
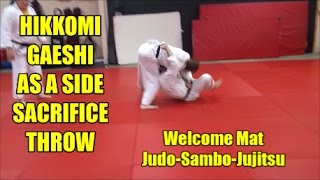
Ground Control After the Throw
Following the sacrifice throw, the instructor lands in a dominant position above the opponent. Maintaining a tight grip and preventing the opponent from escaping the position is essential to converting the throw into control.
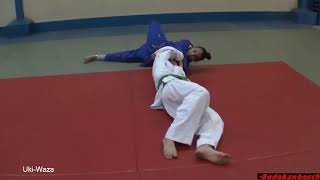
Flag Control and Positioning Principles
The instructor describes achieving flag control, which establishes dominant position throughout the entire exchange. Staying tight to the opponent prevents them from stripping out or reversing the position.
Transitional Variations and Follow-ups
The instructor demonstrates how to transition between different sacrifice variations and how the technique applies to opponents of different sizes. The mechanics adjust based on whether the opponent is smaller or larger.
Safety Considerations
The instructor emphasizes safety protocols when executing and defending the rolling sacrifice technique. Proper form and control reduce injury risk for both practitioners.
Sambo for Plus-Sized Guys: Sacrifice!
Key Takeaways
- •Initial Setup and Sacrifice Mechanics
- •Leg Positioning for Plus-Sized Athletes
- •Ground Control After the Throw
- •Flag Control and Positioning Principles
Jump directly to technique: • Armwrap to Yoko Guruma 00:07 • Barrel Throw 02:24 • Uchi Mata Sacrifice 04:48 VIDEO #5 — SACRIFICE! 1. Armwrap to Yoko-Guruma — 00:07 Grap sleeve, roll elbow for control. Sit back to roll opponent on his back. 2. Barrel Throw — 02:24 Get a cross grip on collar. Grip other hand on same side and shake down hard. Keep cross grip hand on collar, take other had and grab belt. Elevate the leg nearest the belt and place it against opponent's leg. Begin sacrifice throw similar to tomoe nage but lift/throw opponent in a manner similar to a hang clean. 3. Uchi Mata Sacrifice — 04:48 Start with uchi mata, but instead of throwing, hook your leg in. Then drop your weight underneath opponent and roll him over.
Related Techniques
Frequently Asked Questions
What does this video teach about rolling sacrifice?
This video covers initial setup and sacrifice mechanics, leg positioning for plus-sized athletes, ground control after the throw. It provides detailed instruction from Cummings Combat Sambo.
How long does it take to learn rolling sacrifice?
The basic mechanics can be understood in a single session, but developing reliable execution requires consistent drilling over weeks of practice. This 6-part breakdown helps structure your training by isolating each phase of the technique.
What are the key details for finishing rolling sacrifice?
The instructor demonstrates how to transition between different sacrifice variations and how the technique applies to opponents of different sizes. The mechanics adjust based on whether the opponent is smaller or larger.