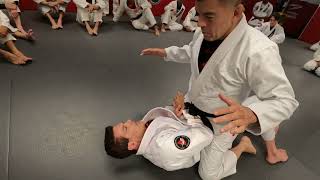
Top Player's Dominant Side Control Position
The top player establishes side control by placing one knee on the opponent's hip and one knee at the shoulder. The top player commits one arm to a cross face under the head while securing an under-hook with the other arm. The hands are locked in a gable grip—the strongest and most effective grip for this position.
Critical Frame Placement for Bottom Player Defense
The bottom player must maintain an active frame on the top player's face to prevent the cross face from collapsing pressure onto the jaw. If the bottom player drops their ear to the top player's body, the frame becomes ineffective and leaves the arm vulnerable to submission attacks such as the Americana or arm lock. The frame arm must remain on the outside of the top player's face to maintain defensive integrity.
Establishing the Inside Elbow Frame
The bottom player's elbow must be positioned inside, rather than in 'no man's land' where the top player can control it. If the top player's position is too tight to place the elbow directly inside, the bottom player creates space through movement—bridging, bumping, or punching with the bicep. Once space is created, the bottom player circles the arm back through to establish a tight inside frame.
Proper Hip Frame Technique
The bottom player frames on the top player's hip using the forearm rather than gripping with the hand, preventing wrist lock vulnerabilities. When the top player attempts to switch their base or transition, the forearm frame allows the bottom player to maintain control without risking a wrist lock. This positioning keeps the bottom player safe while maintaining active hip defense.
The Bridge, Bump, and Shrimp Escape Sequence
Rather than relying on upper body strength to push away the top player, the bottom player uses their hips—their true power source—by bringing their feet close to their buttocks and bridging upward. The bottom player bumps toward the top player (not away) to create a critical window, then shrimps their hips backward to escape. The bottom player then drives their knee toward the top player's elbow and establishes a shin frame against the hip.
Five-Step Execution Breakdown
Step one: Position the arm on the outside of the top player's face. Step two: Punch across with the bicep and circle the arm back to establish an inside frame. Step three: Bridge and bump toward the top player while maintaining a low elbow. Step four: Shrimp the hips backward and drive the knee toward the elbow. Step five: Establish the shin frame against the hip and return to the stomach position.
Side Control Escaping-Pt 1: Frames + Bridge/Bump/Shrimp
Key Takeaways
- •Top Player's Dominant Side Control Position
- •Critical Frame Placement for Bottom Player Defense
- •Establishing the Inside Elbow Frame
- •Proper Hip Frame Technique
Frequently Asked Questions
What does this video teach about standard frame and shrimp?
This video covers top player's dominant side control position, critical frame placement for bottom player defense, establishing the inside elbow frame. It provides detailed instruction from Fuse Martial Arts & Fitness.
How long does it take to learn standard frame and shrimp?
The basic mechanics can be understood in a single session, but developing reliable execution requires consistent drilling over weeks of practice. This 6-part breakdown helps structure your training by isolating each phase of the technique.
What are the key details for finishing standard frame and shrimp?
Rather than relying on upper body strength to push away the top player, the bottom player uses their hips—their true power source—by bringing their feet close to their buttocks and bridging upward. The bottom player bumps toward the top player (not away) to create a critical window, then shrimps their hips backward to escape. The bottom player then drives their knee toward the top player's elbow and establishes a shin frame against the hip.
Related videos
The tried and true head-to-knee mount escape
JeanJacquesMachado
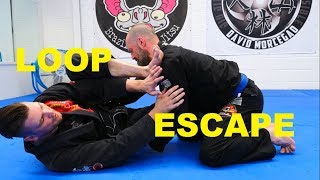
Effortless Escape from Side Control When They Block the Shrimp
Invisible Jiu Jitsu
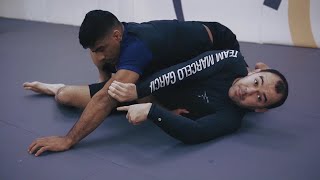
Marcelo Garcia: Elbow Push & Sit Up Escape vs Side Control
Marcelo Garcia Jiu-Jitsu
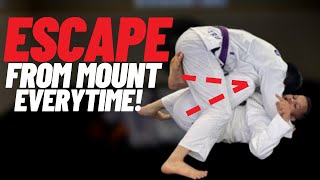
2 Ways to Escape the Mount EVERY Time!
BIG OSS Jiu-Jitsu Channel
how to escape | quad pod | bottom wrestling
Footwork Trainer