Setup: Establishing the Collar and Elbow Clinch
The instructor begins by establishing a fundamental collar and elbow clinch position with the training partner. This clinch serves as the foundation for the takedown technique and is used worldwide in grappling arts. Proper hand placement—one hand controlling the collar and the other controlling the elbow—is essential before executing the technique.
Hand Positioning and Control
The instructor demonstrates the correct hand positioning, with the right hand gripping the collar while securing control on the bicep side of the opponent's arm. This positioning prevents the opponent from creating distance and prepares the practitioner for the lifting motion that initiates the takedown.
The Lifting Motion
Using the elbow as a lever, the instructor lifts the opponent's elbow upward to control their posture and eliminate their defensive options. This lifting action is the key mechanical advantage that sets up the remainder of the takedown sequence.
The Duck and Step
As the lifting motion is applied, the instructor ducks their level while simultaneously stepping forward with the legs. This coordinated movement creates the necessary positional advantage and momentum for the final phase of the takedown.
Head Control and Finishing Position
The instructor reaches for the opponent's head while executing the duck and step, establishing control that forces the opponent forward and off-balance. The practitioner then transitions onto their knees, landing in a dominant position that completes the takedown smoothly.
Slow-Motion Demonstration
The instructor repeats the entire sequence at a slower pace to allow clear observation of each step. Breaking down the technique into its component parts—the lift, duck, step, reach, and final knee landing—helps practitioners understand the timing and coordination required for successful execution.
Detailed Breakdown: Inside Control and Elbow Lift
The instructor emphasizes the importance of coming to the inside position before grabbing and using the elbow lift to prevent the opponent from striking or creating defensive space. This control mechanism is critical to maintaining the clinch integrity throughout the technique.
Common Mistake: Foot Placement
The instructor clarifies that practitioners should not attempt to land with their feet in a traditional stance during this takedown. Instead, the knees should slide into position as the opponent's weight is directed downward and forward, resulting in a controlled collapse of their base.
BJJ Tips: Takedown from Collar and Elbow Clinch 1
Key Takeaways
- •Setup: Establishing the Collar and Elbow Clinch
- •Hand Positioning and Control
- •The Lifting Motion
- •The Duck and Step
This is a very nice simple and quick takedown when both your opponent and you have a collar and elbow grip from standing
Related Techniques
Frequently Asked Questions
What does this video teach about collar elbow clinch?
This video covers setup: establishing the collar and elbow clinch, hand positioning and control, the lifting motion. It provides detailed instruction from UMMAH BJJ.
How long does it take to learn collar elbow clinch?
The basic mechanics can be understood in a single session, but developing reliable execution requires consistent drilling over weeks of practice. This 8-part breakdown helps structure your training by isolating each phase of the technique.
What are the key details for finishing collar elbow clinch?
The instructor emphasizes the importance of coming to the inside position before grabbing and using the elbow lift to prevent the opponent from striking or creating defensive space. This control mechanism is critical to maintaining the clinch integrity throughout the technique.
Related videos

Jax Forrest Elbow Tie System
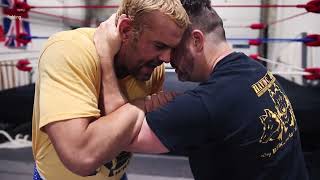
Iron Faith Wrestling
Collar & Elbow Clinch
Força Martial Arts & Fitness
Catch Wrestling Techniques Collar And Elbow Tie Up_R
Lynn Phillipsen
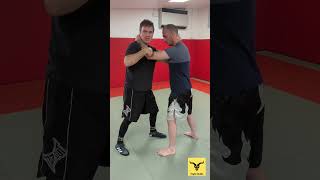
How to DOMINATE the Collar and Elbow and IMMEDIATELY IMPROVE Position 2023 #shorts #martialarts
Fight Skills
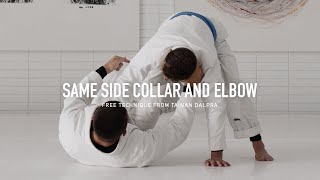
Free Technique: Tainan Dalpra | Same Side Collar & Elbow Curriculum on AOJ+ aojplus.com
ART OF JIU JITSU